StretchFix: Walkthrough
| programs: | stretchfix | |
| plug-ins: | psYchobass | multiband panner | a+/-b analysis tool | |
| pedals: | phase 100 | bazz fuss | |
| papers: | compressor effect study | |
| projects: | mixer | reference | opamp calculator | |

Start the program.
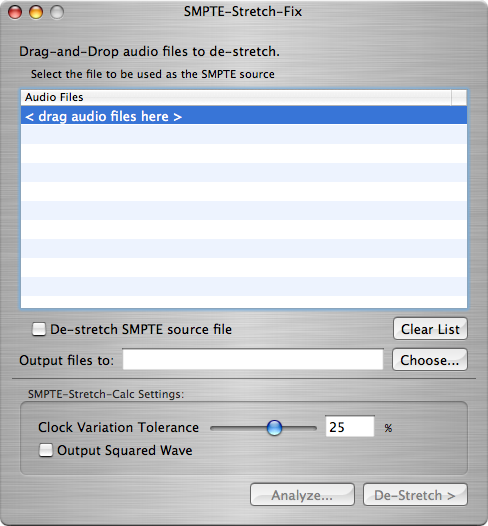
You're presented with the initial StretchFix window.
Drag and drop the tracks you'll be working on (your gunky dub) into the Audio Files list.
Note: All files must be mono, and for better performance, you should make sure they are decompressed, or the original full-quality files. Additionally, all of the files should be the same length, otherwise you may not get the results you want.
Many file input formats are supported, though you may encounter issues with compressed formats.
Files are ouptut in AIFF format, with the same sample-rate and bit-depth as the original files.
Page 2:
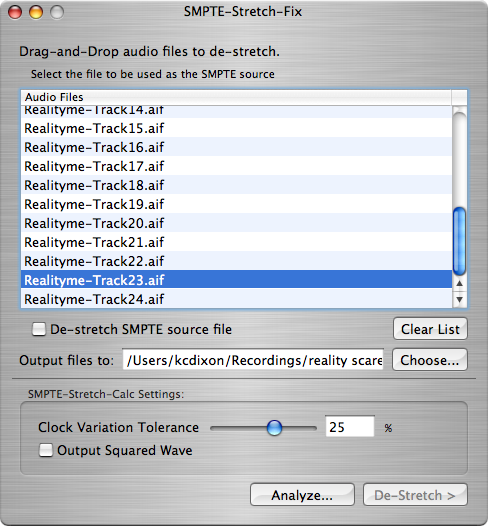
Select the track that contains the SMPTE LTC data, Track 23 in this case.
Also, select the output directory you want. It defaults to the directory of the files you have added. The generated files are prefixed with "new_".
Page 3:
On the lower bit of the window, there is a pane labeled "SMPTE-Stretch-Calc Settings". You only have to deal with these if you are an advanced user, or have a particularly bad dub.
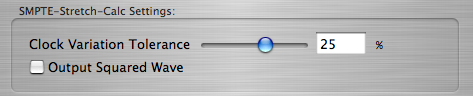
Changing the Clock Variation Tolerance can result in worse or better analysis results. If you get unsatisfactory results with the default settings, you may want to try changing the tolerance. I would suggest using a lower tolerance if for some reason your tracks were recorded at faster-than-real time, or have a very constant slow-speed. Making the tolerance a larger value may work better to catch rapidly changing speeds.
"Output Squared Wave" only applies to applications that are going to output the signal from the SMPTE-Stretch-Calc. This application does not, so it is best to leave it unchecked for faster performance.
Page 4:
Once you have selected the settings you need, click the "Analyze..." button on the lower right of the window. This will begin the analysis procedure, displaying a sheet like this:
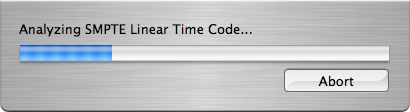
You may Abort the analysis at any time.
Page 5:
Once the analysis is complete, you will see the Results sheet appear.
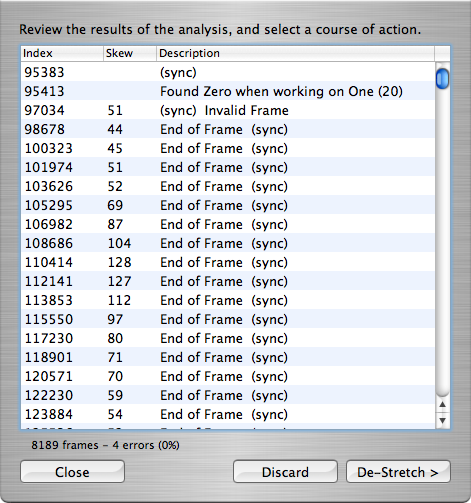
- From left to right:
- Index: The Sample index at which the indicated event occurred.
- Skew: The calculated skew for the shown frame. This will be blank if there is no skew.
- Description: a quick description of what was determined at that point in time.
Important tokens to look for include
- "(sync)" which indicates that an LTC Sync sequence of bytes was encountered.
- "End of Frame" which indicates that a full LTC frame was parsed.
Other messages are typically errors that are encountered.
Don't be alarmed if you see a lot of errors at the beginning or end of the analysis. These are frequently due to lag between starting recording during the dubbing process, or the tape spooling up/down. You can verify that the errors are before or after your useful content by comparing the "Index" field to your audio file's sample position using your favorite DAW software.
Click "Close" to return to the main screen.
Click "Discard" if you are unsatisfied with the results, and/or you want to analyze a different file.
Click "De-Stretch" to commence the de-stretching process.
Page 6:
If you click "Close" on the analysis results, you'll see there is the "Analysis Results..." button, which re-opens that screen. You may change your settings, or just click De-Stretch.

Page 7:
Once you think that your settings are going to work, or are ready to give it a shot, click the "De-Stretch >" button. Beginning this process will display the destretching sheet, as shown here:
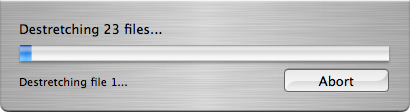
Destretching takes quite a long time. If you are doing a 24 track recording, I'd recommend going to get lunch.
Files are output in AIFF format, with the same sample rate and bit depth as the original files.
If you de-stretch the SMPTE track as well, you can run the analysis on the resulting file to see how well the files were de-stretched. In my experience, most de-stretched frames have a 0 sample skew, with up to a +/- 5 sample skew.
It is also possible to do multiple passes. This will bring your skews down to Zero, but I have not listened to files that have been multi-passed, so I cannot say whether or not there will be a loss of fidelity.